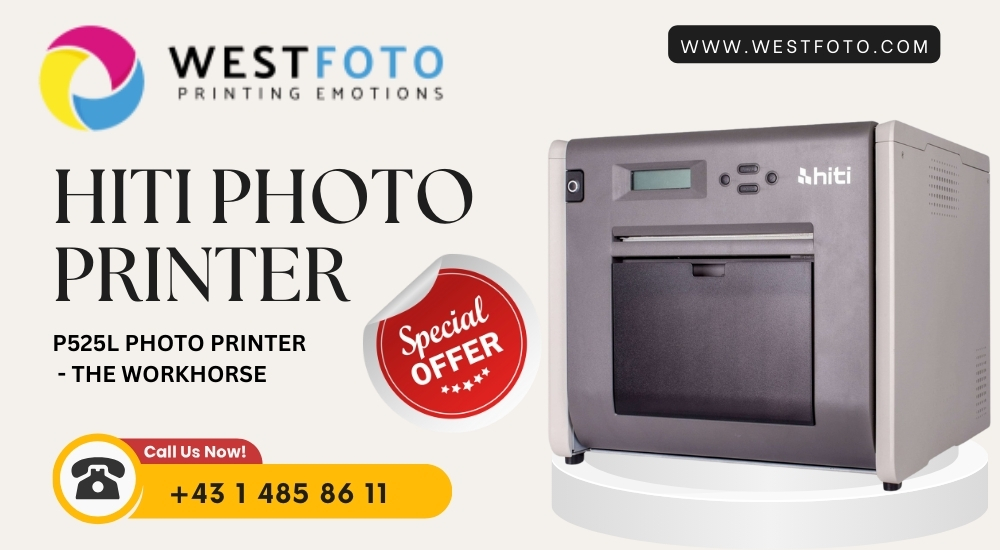
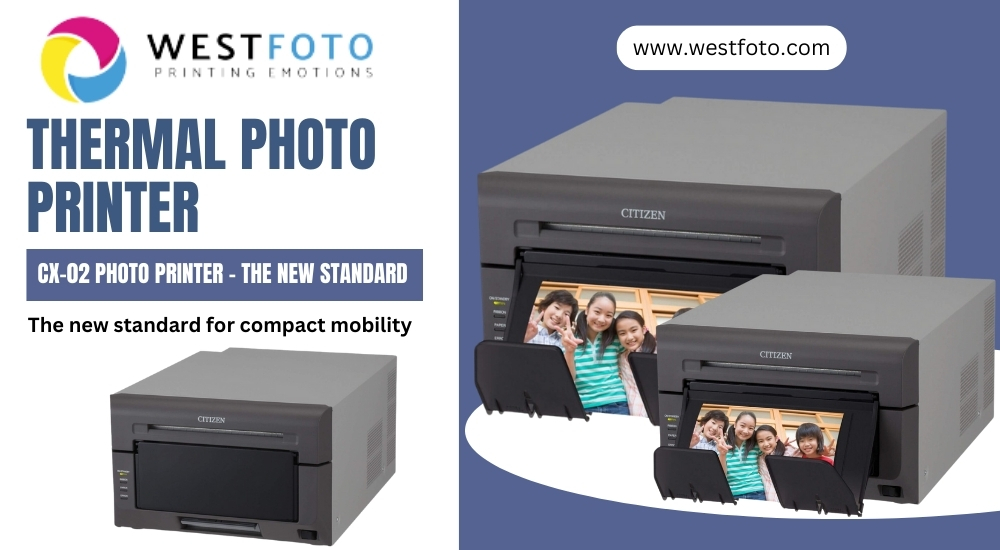
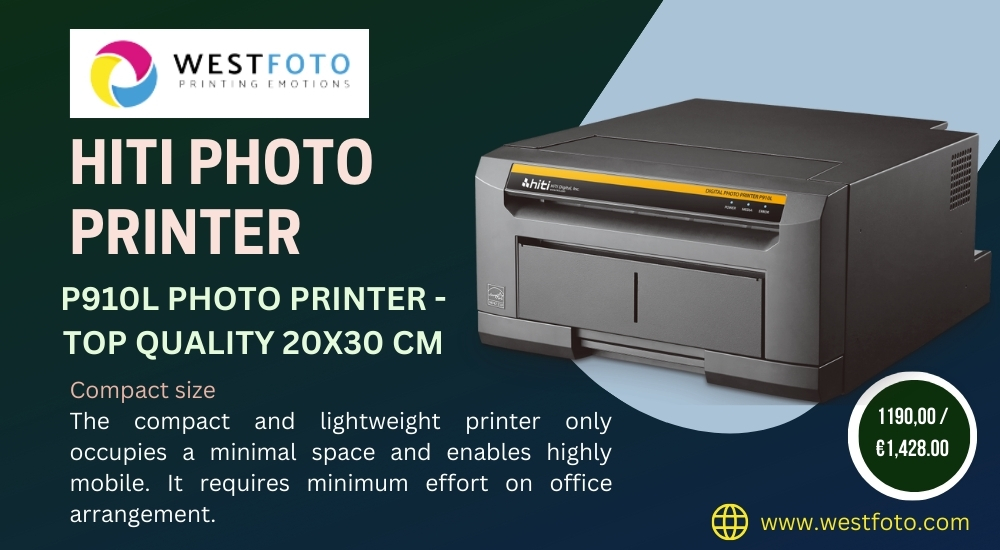
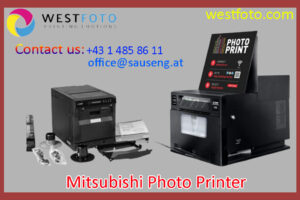
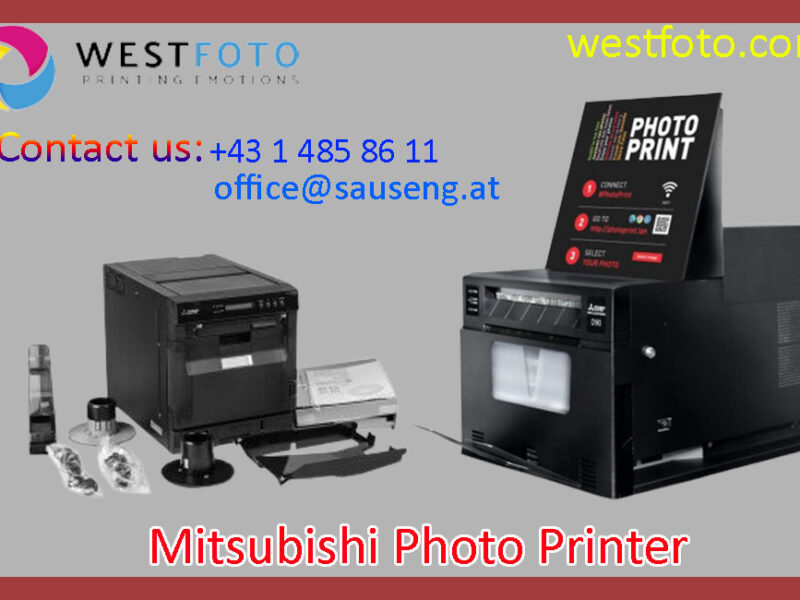
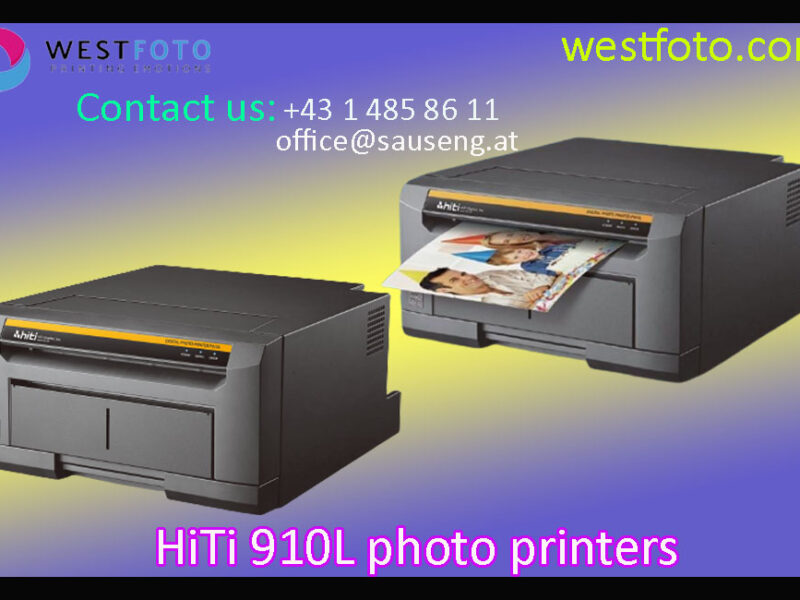
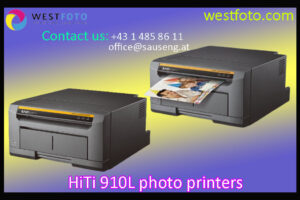
In the digital age, tangible photo albums hold timeless appeal, offering a special connection to cherished moments. The HiTi 910L Photo Printer is great for making your own 8×10 and 4×6 albums. Our tutorial guides you through the process, preserving your memories in a beautiful, tangible form.
Getting Started With HiTi Photo Printer
Getting started with a HiTi 910l Photo Printers is an exciting journey into the world of high-quality, on-demand photo printing for Easy Albums. Begin by unboxing your printer and connecting it to your computer or mobile device via USB or wireless setup. Install the necessary drivers and software provided by HiTi.
Load the photo paper and ink cartridges as per the printer’s instructions. Now, choose your desired photo and use HiTi’s user-friendly software to edit, customize, and print your images with precision. Experiment with various settings to achieve the best results, and soon, you will be producing stunning, professional-quality photos from the comfort of your own space.
Setting Up Your HiTi 910L
- Connect the Printer: Start by connecting your HiTi 910l Photo Printers to your computer using a USB cable. Ensure that the printer is powered on and ready.
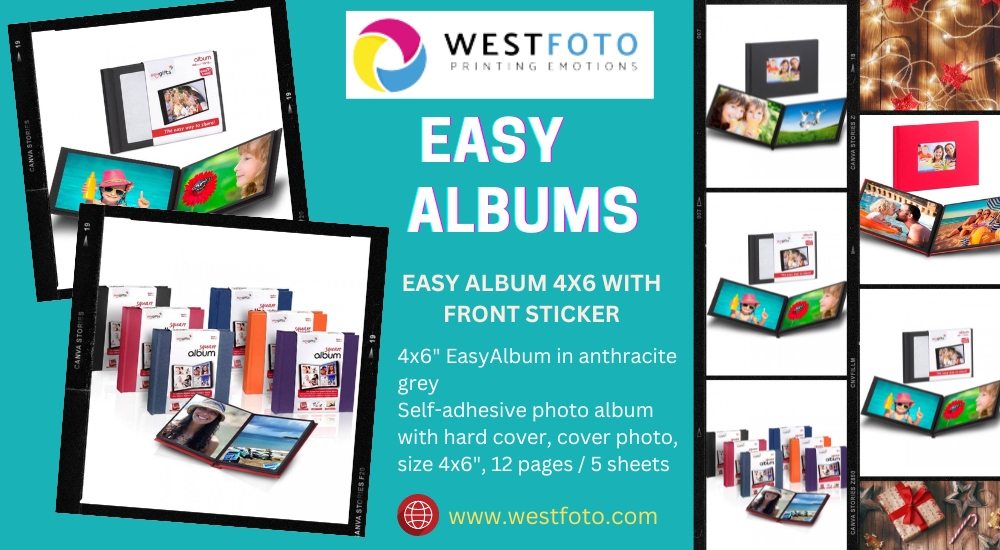
- Load Photo Paper: Open the printer tray and insert the appropriate size of photo paper (4×6 or 8×10 Photo Album) as per your printing requirements.
- Install Printer Drivers: If you have not already, installed the necessary printer drivers for your HiTi 910L. You can find these on the HiTi website or the CD that came with the printer.
Selecting & Editing Your Photos
- Choose Your Photos: Browse through your digital image library and select the photos you want to include in your album. Ensure they are of high resolution for optimal print quality.
- Photo Editing: Before printing, consider editing your photos using photo editing software to enhance color, brightness, and sharpness. This step can significantly improve the final print quality.
Printing 4×6 Photos
- Launch the HiTi 910L Photo Printer Software on your computer.
- Choose the 4×6 print option in the software for printing Mini Photo Album 4×6.
- Import the photos you want to print into the software. Arrange them in the desired order.
- Adjust print settings, including paper type, quality, and number of copies.
- Click the “Print” button to send your photos to the HiTi 910L Photo Printer. Wait for the prints to complete before creating Easy Albums.
Printing 8×10 Photos from HiTi
- Open HiTi Photo Printer Software: Again, launch the HiTi Photo Printer Software.
- Select 8×10 Print: This time, choose the 8×10 Photo Album option.
- Photo Selection: Import and arrange your selected photos within the software.
- Print Settings: Adjust the print settings, ensuring they match the paper type (8×10 photo paper) and quality preferences.
- Print: Click the ‘Print’ button to initiate the printing process. Wait for the printer to produce your 8×10 Photo Album.
Conclusion
Creating a personalized photo album with the HiTi 910L Photo Printer is a rewarding experience. It allows you to relive your cherished moments in a tangible, enduring form. By following this comprehensive tutorial, you can effortlessly print 4×6 and 8×10 Photo Album and assemble them into a beautiful album that captures the essence of your memories.
To know more about these products visit our website www.westfoto.com/.